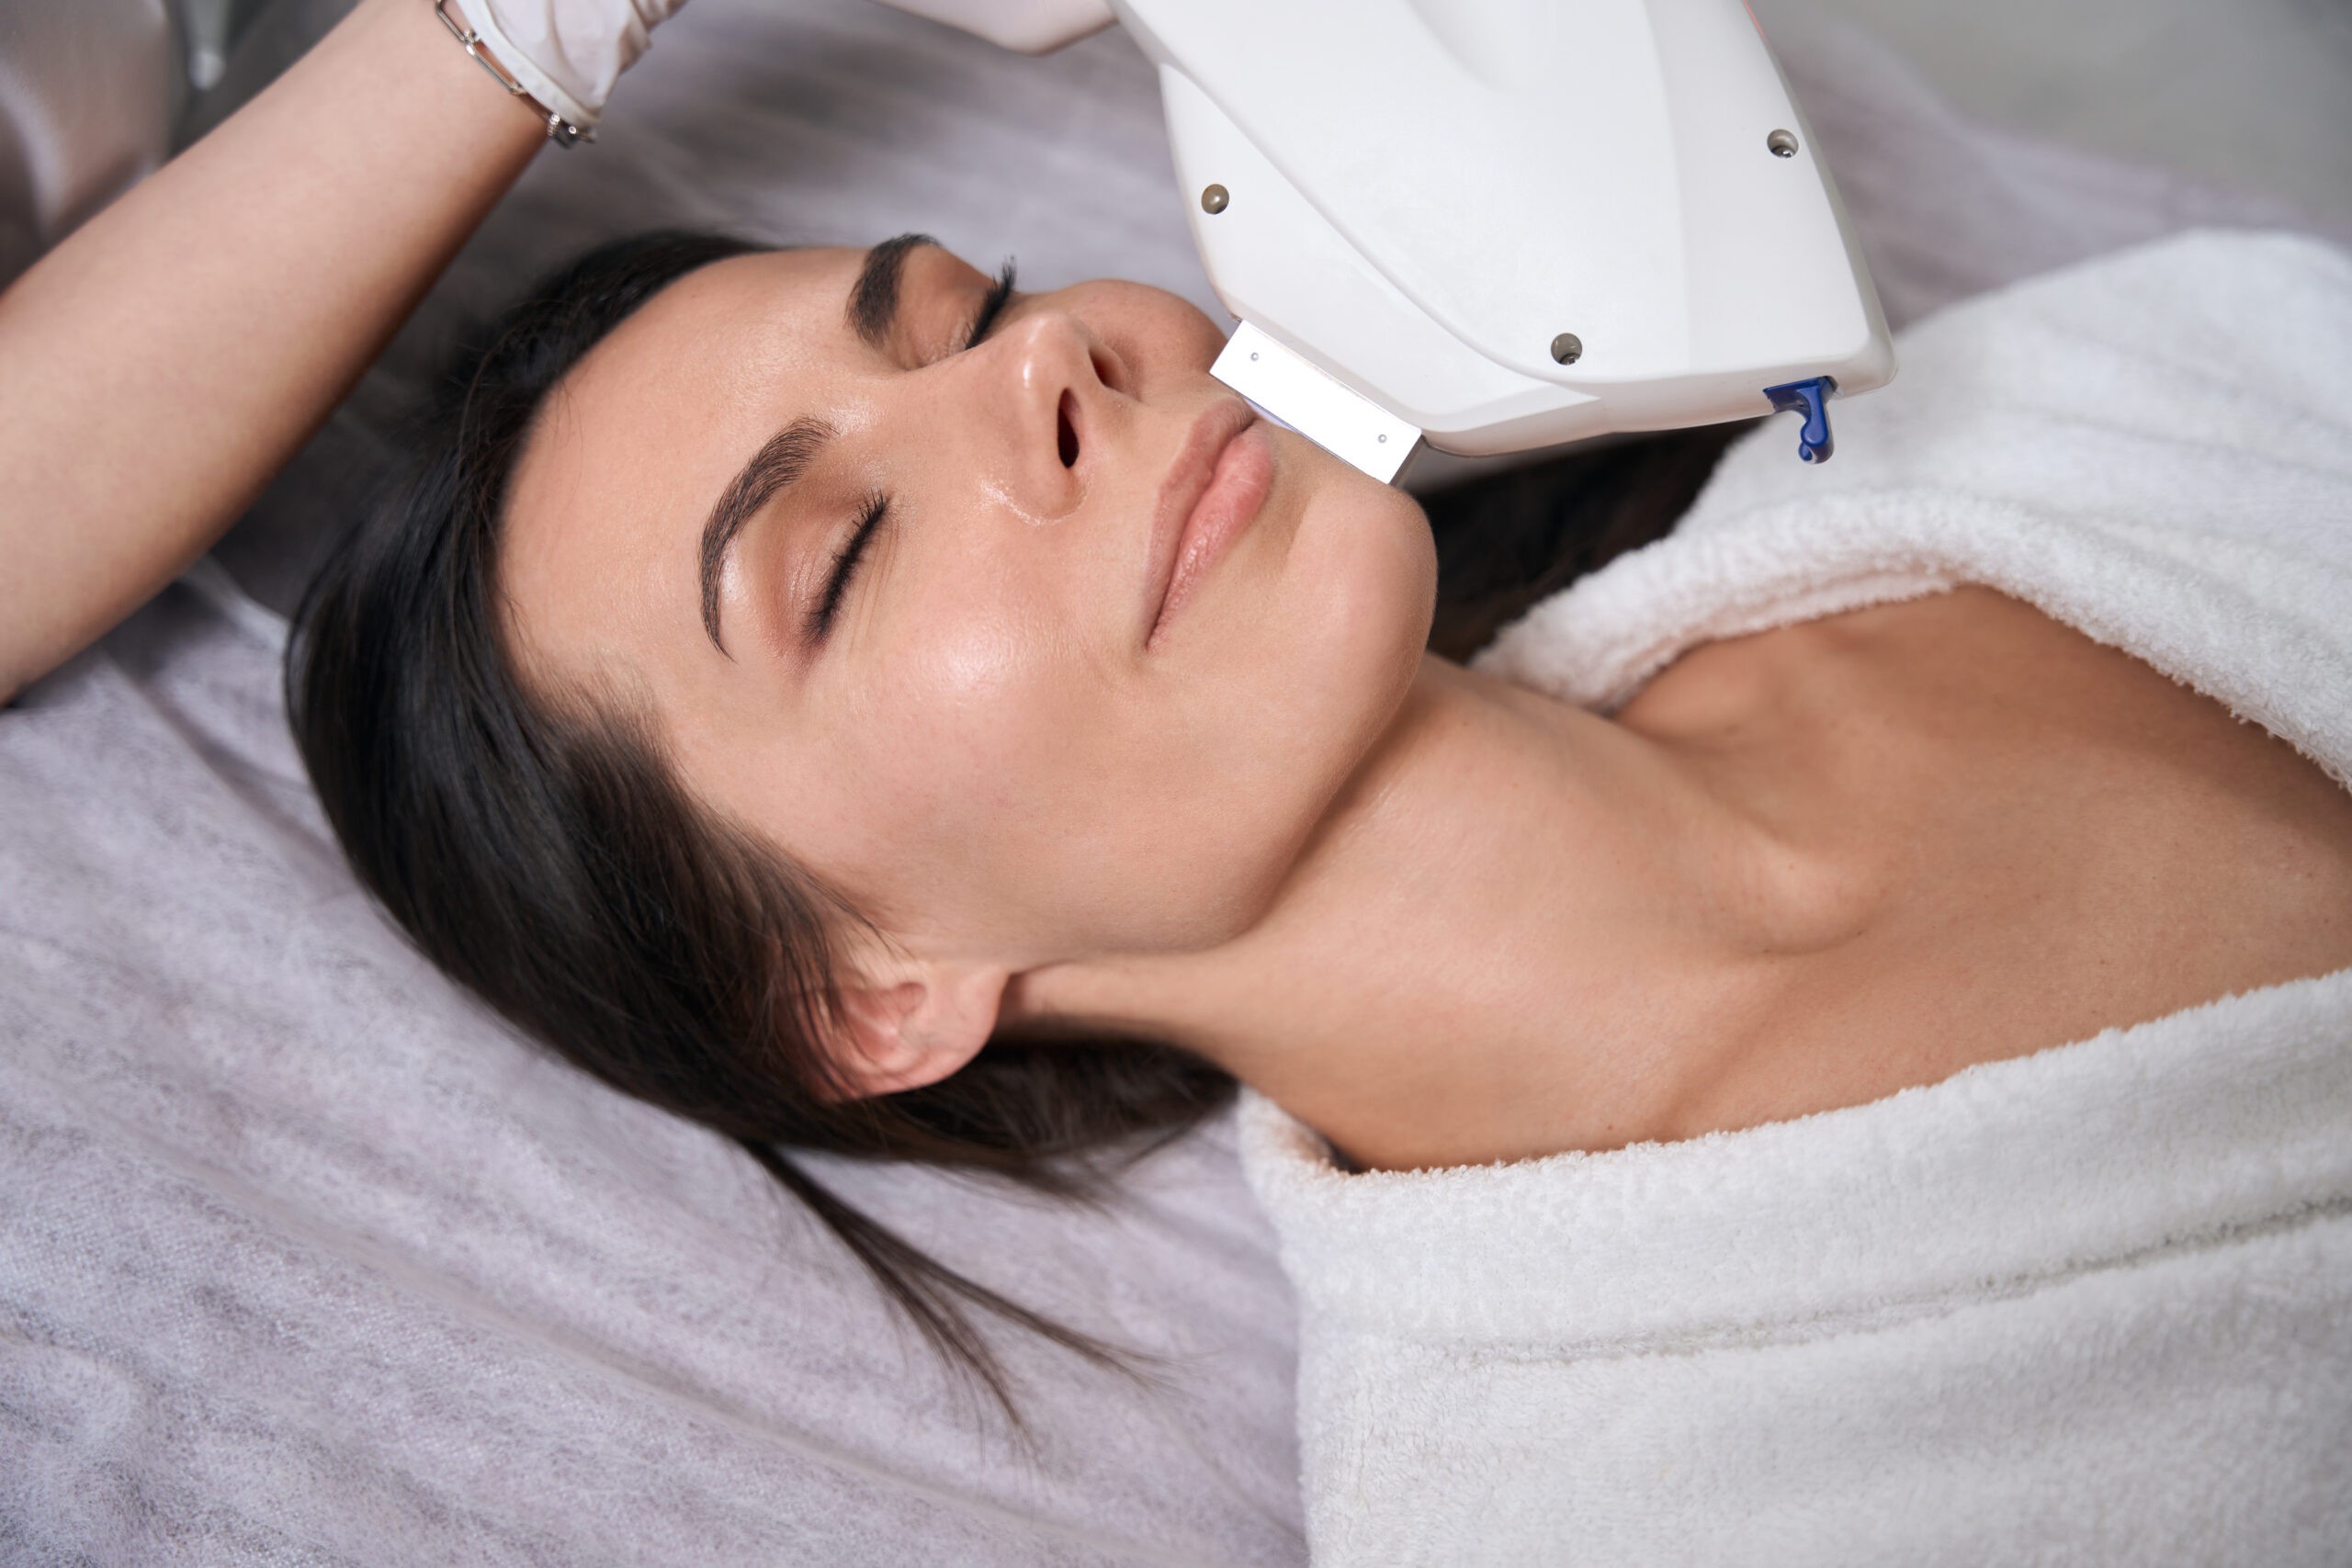
Understanding Moxi Laser and Why Recovery Matters
The Moxi laser treatment is becoming a popular choice for skin rejuvenation. Known for being gentle and effective, Moxi is perfect for those looking for visible skin improvement without the lengthy recovery common with more aggressive lasers. But even though Moxi is considered a low-downtime treatment, knowing what to expect in recovery can help you feel more prepared and get the best possible results.
This guide walks you through each day—from right after your appointment to a week later—so you know what’s normal, what to watch for, and how to care for your skin.
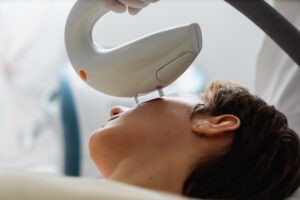
Day 1: Right After Your Moxi Treatment
After your Moxi session, your face may feel warm—like a mild sunburn. This warmth usually lasts a few hours. Your skin may also look a little red and slightly swollen. This is completely normal.
You’ll likely be sent home with specific skincare instructions. Usually, this means avoiding heavy creams and active ingredients like retinol. Instead, gentle moisturizers and mineral-based sunscreens are preferred.
What to avoid:
- Hot showers
- Sweating and exercise
- Direct sun exposure
Pro tip: Keep your environment cool and calm. You can apply cold compresses (not ice directly) to reduce heat and redness.
Day 2: The Sandpaper Phase Begins
On the second day, your skin might start to feel rough, almost like fine sandpaper. The redness should start fading, although some redness and a lingering warm feeling may still exist.
This stage is a sign that your skin’s natural healing has begun. Moxi works by stimulating the skin to regenerate. That means tiny micro-zones of damage trigger new collagen production. What you're feeling is your skin turning over.
Care tips:
- Keep your face clean using a gentle cleanser
- Moisturize often to help the healing
- Continue to wear sunscreen—even indoors
Day 3: Spotted Texture Appears
By day three, something called “MENDS” may show up. MENDS are Microscopic Epidermal Necrotic Debris—basically tiny dark dots that look like freckles. They are a completely normal part of the process and show where the laser energy was delivered.
Your skin will also begin to feel tight or dry. This is the time when good hydration (drinking water and moisturizing) is more important than ever.
What to expect:
- Rough texture across the laser treatment zones
- MENDS can make the skin look speckled or dirty
- Glow underneath starting to be noticeable
Day 4: Peeling and Shedding
On day four, many patients see the MENDS start to lift and fall away. This is your old, dull skin making way for new, healthier skin underneath. Peeling often begins around the nose and mouth—areas with more movement—and spreads outward.
DO NOT pick or scrub your skin. This step must happen naturally to protect the skin barrier.
How to help:
- Stay gentle—no exfoliating or harsh cloths
- Continue hydrating
- Avoid heavy makeup; a tinted mineral sunscreen is better
Day 5: Fresh Skin Appears
You’re nearly there! By day five, many people notice the peeling has slowed, and a new layer of skin begins to show through. This new skin might look pinkish or feel slightly tender. A healthy glow is noticeably appearing.
Your skin is now particularly sensitive to UV light. This is where diligent sunscreen use is essential. Consider reapplying SPF every few hours if you’re moving around during the day.
Keep up the moisturizer and avoid using active ingredients unless cleared by your provider.
Day 6: Smoother Texture and Renewed Glow
Your skin texture is smoother now, and there's less tightness or dryness. Any redness has usually reduced significantly, and you may feel comfortable applying basic makeup again if needed.
Be mindful of your skincare routine—continue using products aimed at hydration and skin repair. You’re still technically healing even if the surface looks better.
Care reminders:
- Avoid facials, waxing, or other invasive treatments for at least 1-2 more weeks
- Keep skin protected and hydrated
- Start approved serums gradually if given the go-ahead
Day 7: Results Setting In
At the one-week mark, you’ll start to really enjoy the results. Your skin likely feels smoother, looks brighter, and may have smaller pores and more even tone. The changes started under the surface and will improve over the next few weeks as collagen rebuilds.
Don’t forget—Moxi is best done in a series for layered results. Consistent treatments every few months, combined with at-home skincare and sun protection, give long-lasting benefits.
Final Thoughts: Be Patient with Your Skin
While Moxi is fast-healing compared to deeper lasers, the recovery process is still an important part of your results. Follow aftercare closely, avoid rushing the peeling process, and stay gentle with your face.
Every person heals slightly differently, but understanding the recovery timeline helps reduce worry and improves satisfaction.
Book Your Moxi Consultation Today
Experience the magic of Moxi for yourself and enjoy smoother, clearer, and younger-looking skin—with minimal downtime. Book a consultation today to see if Moxi is right for your skin goals!